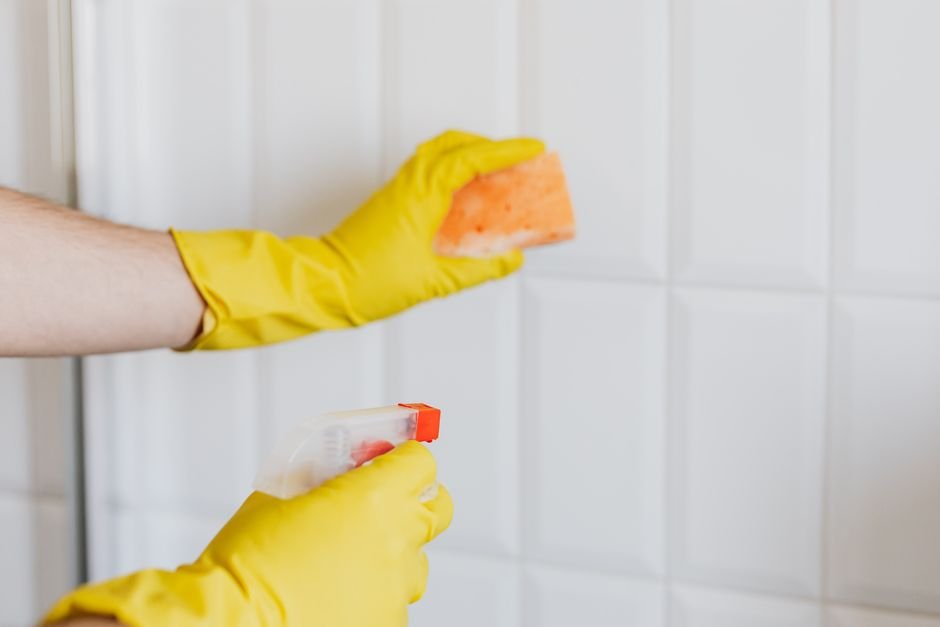
Check out clean can seem like an overwhelming task when you’re busy sorting out the move itself. It’s easy to feel stressed about getting your deposit back, not to mention keeping the peace with your landlord. But don’t worry, this guide will walk you through every step of the way, ensuring your rental is left spotless and that your security deposit is secure.
Quick answer: Check out clean involves thorough cleaning of the entire property down to details like skirting boards and oven grime. Depending on the contract specifics, you may need to hire a professional service. It ensures that you leave no stone unturned and secure your full deposit back.
You can find more helpful resources on endoftenancycleaningserviceglenrothes.com.
Key Takeaways
- Detailed cleaning prevents deposit deductions
- Avoid common move-out mistakes
- Proper tools make cleaning faster
- Consider hiring professionals for tough jobs
- Keep receipts as proof of cleaning
Check Out Clean: What Does It Involve?
Check out clean requires a comprehensive cleaning of your rental property, ensuring every part is as spotless as when you moved in. From the carpets and curtains to the pesky grime behind the stove, everything must be tidied up. Often, renters are caught off guard by the extent of what’s required, leading to unexpected costs or deposit deductions.
When preparing for a check out clean, the scope of work can be daunting. It often involves more than a cursory clean; think deep cleaning as you tackle things like limescale in the bathroom or lingering dust behind the fridge. Landlords typically expect the property to return to the condition listed on the inventory report. Sadly, the fine details, such as the inside of the microwave or the light fittings, can make or break successful check outs.
To handle check out cleaning effectively, you need a strategy. Start early and plan each day’s tasks. Dust all surfaces, sanitise the kitchen and bathroom, and don’t forget those hidden spots like the tops of cupboards. It’s tempting to clean only what the eye sees, but landlords or inventory clerks will check everything. Would you want someone moving into a flat you’ve just tidied to find your old toast crumbs under the toaster? Exactly.
Consider this: a family moving out of their London flat missed out on a £300 deposit because they’d forgotten to clean the light fixtures and skirting boards. All the big-ticket items were sparkling, but a quick glance upwards or below led to enough grime to cost them dearly. If only they’d spent just fifteen minutes more on the details.
The devil’s in the details with a check out clean. Get yourself the right cleaning materials: quality multipurpose cleaners, a strong vacuum, and maybe even a steam cleaner for the really stubborn dirt. Keep a checklist — it’s crucial. Make sure you’ve got rubber gloves and a decent window cleaner. Bit by bit, your once chaotic space can transform back into the inviting property you first viewed.
How Do You Start the Cleaning Process?
Starting the cleaning process involves setting a clear plan, gathering essential supplies, and defining specific goals tailored to your needs. Understanding the key tasks is vital to ensure a thorough clean-up. Following a step-by-step method keeps you organised and focused, leading to a spotless result. Starting with a checklist can help simplify your cleaning routine.
First, prepare your cleaning checklist. This should list every room and specific areas in need of attention. A checklist helps you track progress and ensures you don’t overlook any tasks. Lists are especially handy if you’re under a time constraint or if distractions are likely to crop up. Tailor the list to your space, considering what’s crucial for a complete check-out clean.
Next, gather your cleaning supplies. Ensure you have everything from microfiber cloths to disinfectant sprays before you begin. Running out halfway through can throw off momentum and make the process drag. If eco-friendly options are essential to you, stock up on natural cleaning products which can be found on websites like Which?. Planning with the right tools can prevent unnecessary frustration.
Once you’re equipped, set a timer to focus on specific tasks within each room. Such constraints keep you moving and help avoid perfectionism traps. A clear timeline also allows for breaks which can refresh your mind and maintain efficiency. This method not only boosts productivity but also reduces the chance of fatigue setting in early.
Finally, tackle challenging areas first. High-traffic spots like kitchens and bathrooms may need extra elbow grease, so diving in early when energy levels are higher can be beneficial. If stubborn grime or stains persist, use specialised products such as a vinegar and baking soda mix. It’s simple but effective for many cleaning scenarios.
In practice, many find that dividing the cleaning tasks between family members or housemates speeds up the process. It turns a daunting task into a doable challenge.
Which Cleaning Supplies Are Essential?
Choosing the right cleaning supplies ensures your efforts are effective, time-saving, and environmentally friendly. Essential items include all-purpose cleaners, cloths, and vacuum cleaners. Each plays a specific role in ensuring surfaces are spotless and safe, making it crucial to select products that align with your cleaning goals.
First, invest in an all-purpose cleaner. These versatile products tackle most surfaces, saving you from swapping bottles constantly. Look for one that disinfects while being safe for multiple materials. Bottles with clear instruction make it easier if you’re new to the cleaning game, where correct usage can optimise effectiveness.
Next, acquire quality microfiber cloths. These are indispensable for wiping surfaces without leaving fibres or streaks. They’re particularly effective for glass and mirror cleaning. According to the RHS, regular cleaning with microfibers can also reduce allergens in households significantly.
Don’t forget a sturdy vacuum cleaner. One with multiple attachments handles different floor types and reaches nooks and crannies. If you’re dealing with carpets, a model with a strong suction and a HEPA filter can be beneficial, capturing more dust and improving air quality indoors. The right vacuum transforms deep cleaning into a quick task.
Finally, consider environmentally friendly alternatives. Products with natural ingredients like citrus oils or eucalyptus can be as effective without the chemical load. Websites like MoneySavingExpert often highlight cost-effective green options.
Reliable cleaning supplies make the process more efficient, allowing you to focus on your method rather than product inefficacies. Many people underestimate the difference in quality products but realise their value with first-hand experience.
How Should You Organise Your Time for Cleaning?
Effective time management in cleaning involves creating a structured schedule, setting realistic goals, and prioritising tasks. These strategies ensure you can manage your workload without feeling overwhelmed. By designating specific time slots to each cleaning task, you can achieve and maintain a thorough standard.
Begin by allocating a specific day and time for your cleaning routine. Consistency turns daunting chores into regular habits. According to a survey from the Office for National Statistics (ONS), regular routines drastically improve task completion and reduce stress. Establishing a fixed timetable aids memory, turning actions into almost effortless habits.
Next, set realistic goals. Break larger projects into smaller, manageable tasks. This approach prevents feelings of overwhelm and boosts motivation. Completing small tasks provides a sense of achievement, propelling you to tackle the next. If you’re cleaning with others, tailor goals to each person’s strengths for maximum efficiency.
Prioritise tasks by importance and urgency. Focus first on areas needing the most attention, like neglected spots or high-use areas. A technique like the Eisenhower Box can be useful here—deciding between urgent and important tasks further sharpens focus on what demands immediacy.
Consider employing the Pomodoro Technique: cleaning intensively for 25 minutes, followed by a 5-minute break. This method maintains high energy levels and prevents burnout, making long cleaning sessions more bearable. It’s a contract with your productivity, demanding focus but rewarding relaxation.
Many professionals find setting a timer helps maintain a steady pace and keeps the mind engaged, transforming a daunting list into an achievable challenge.
Learning to organise your time effectively empowers you to clean more efficiently and with less stress. Even if managing time isn’t your forte, this structured approach makes it considerably easier.
Frequently Asked Questions
How do I ensure I get my deposit back?
To ensure the return of your deposit, focus on a thorough end-of-tenancy clean. Pay attention to details like carpets, windows, and appliances. Check your tenancy agreement for specific cleanliness requirements. Document the condition with photos before moving out. This proactive approach can prevent disputes.
What cleaning products are recommended?
For an effective clean, use multi-purpose cleaners for surfaces, glass cleaner for windows, and a good limescale remover for bathrooms. Microfibre cloths work well for dusting and polishing. Eco-friendly products are also available which are kinder to the environment and equally effective.
Can I clean the property myself?
Yes, you can clean the property yourself. The DIY approach is cost-effective but requires time and effort. Ensure all areas meet a high standard, as missed spots might affect your deposit. Consider a checklist to cover all tasks effectively. Professional services are an alternative if time is an issue.
Does hiring professionals guarantee my deposit back?
Hiring professionals doesn’t guarantee your deposit’s return, but it boosts the chances. Professional cleaners specialise in ensuring rental properties meet landlords’ standards. Always obtain a receipt and guarantee from the service provider. They should offer a re-clean if the standards aren’t met initially.
How often should a deep clean be done?
Deep cleaning should ideally be done every six months to maintain hygiene and prevent build-ups that are harder to tackle. If letting out a property, a deep clean is crucial before each new tenancy. Regular maintenance cleaning helps keep on top of things in the interim.
Author credibility: Experienced property manager with over 10 years in the real estate sector, focusing on maintaining high-quality rental properties.
Final Thoughts
The “check out clean” process involves attention to detail, addressing specific areas like appliances, windows, and flooring. Consider whether DIY or professional cleaning suits your needs and budget. Documenting the condition can be vital in returning your deposit.
Consider booking a professional service in advance during peak moving seasons. This ensures availability and allows for any needed re-clean without last-minute hassle. For tenancy agreements and legal cleaning obligations, check Citizens Advice. Review tips on eco-friendly products at Which? for alternatives.
To store valuable advice on maintaining property standards.
📚 You May Also Like
References
- [1] Which? — https://www.which.co.uk/reviews/cleaning-products