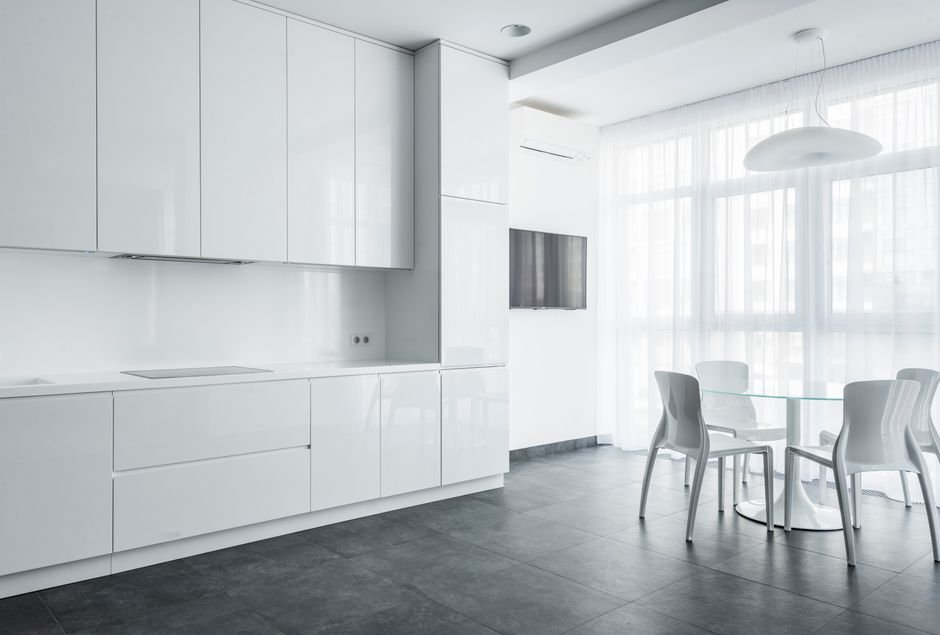
Kitchen floor and grout cleaning before moving out ensures you leave everything spotless and deposit-damage-free. You might find grimy, stubborn stains or discoloured grout daunting — especially when time’s ticking. But don’t worry; in this guide, you’ll discover straightforward steps and practical tips to get those floors gleaming again.
Quick answer: Kitchen floor and grout cleaning before moving out involves sweeping loose debris, scrubbing with a suitable solution, and applying a grout sealant for protection. Use vinegar and baking soda for tough stains, finish with a mop over to achieve a shine. Don’t forget to remove all soap residue to avoid leaving streaks.
You can find more helpful resources on endoftenancycleaningserviceglenrothes.com.
Key Takeaways
- Thorough cleaning protects your deposit
- Use baking soda for tough stains
- Sealing grout prevents future stains
- Proper tools make cleaning easier
- Test solutions on small areas first
Kitchen Floor and Grout Cleaning Before Moving Out: Why It’s Essential
The process of kitchen floor and grout cleaning before moving out is crucial to return the property in good condition. Failing to clean adequately can lead to deposit deductions or even disputes. By focusing on this task, you not only maintain a good landlord-tenant relationship but also ensure a smooth move for the next resident.
Cleaning your kitchen floor and grout serves multiple purposes. Beyond aesthetics, it prevents long-term stains and damage that could lead to permanent marks or replacement costs. Kitchens are high-traffic areas. Over time, they accumulate food spills, grease, and dirt that get ground in with each step. So, a thorough cleaning is more than just wiping down surfaces — it demands a detailed approach to target hidden grime.
Why is this so important? In the UK, tenancy agreements typically require tenants to leave the property in the same state as when they moved in. Organisations like Citizens Advice highlight the importance of end-of-tenancy cleaning, and part of this involves ensuring floors aren’t left shabby or stained. A landlord might withhold part of your deposit if your cleaning efforts are unsatisfactory. That could be an expensive oversight over something as manageable as floor cleaning.
Take Gemma, a tenant from Croydon, who once faced a deposit deduction due to overlooked grout stains in her kitchen. She thought regular mopping was enough but missed the deep-seated grime in the grout lines. After a small dispute, she learned about specialised grout cleaning solutions that can tackle such stains and avoid future issues. This became an essential part of her moving out checklist.
So, how do you avoid such pitfalls? Start by investing in a good quality scrub brush and eco-friendly cleaning agents. Test your cleaning solution in an inconspicuous area first to ensure it doesn’t harm the surface. Rinse thoroughly after scrubbing to remove any residual cleaner, as these can leave streaks or attract more dirt. Pay special attention to corners and edges where dust gathers unnoticed. With these tasks checked off, you’re more likely to recover your deposit fully.
Top Cleaning Methods for Kitchen Floors
Top cleaning methods for kitchen floors involve understanding the material you’re working with and using the right tools for the job. For tiled surfaces, a combination of sweeping, mopping, and spot cleaning handles day-to-day grime effectively. Different floors, however, demand specific techniques to prevent damage and ensure thorough cleaning.
Start with a basic sweep to gather loose debris. By removing dust and crumbs first, you prevent them from spreading and scratching the surface during deeper cleaning. Next, mop with warm water and a suitable floor cleaner. Always read the labels to ensure compatibility with your kitchen floor type. This initial clean dislodges surface-level dirt, prepping the area for more intense action.
When it comes to persistent stains, spot-treating them with a mix of baking soda and water often does the trick. Baking soda acts as a mild abrasive, which is perfect for lifting stains without scratching. A soft cloth or non-scratch pad helps in applying this paste to stubborn spots. Recently, steam mops have gained popularity for their efficiency. They utilise hot steam to sanitise the floor, which is particularly beneficial in kitchen settings.
Consider the case of Paul, who inherited an old linoleum floor in his rental. Regular cleaners left it dull, showing streaks after drying. Switching to a steam mop restored its sheen while effectively cleaning and sanitising. Steam has the added benefit of loosening grime without excessive chemicals, making it a friendly option for households with kids or pets.
Before you start though, always identify your floor type. Wooden floors need less water, as too much can seep in and cause warping. Tiles are more forgiving, but their grout lines might require deeper attention. Lino floors benefit from gentle products that don’t leave a residue. Understand these nuances, and you’re halfway to becoming a cleaning pro. Your pocket and your landlord will thank you later.
Effective Grout Cleaning Techniques
Effective grout cleaning techniques focus on lifting dirt that’s embedded inside pores and between tiles. Using the right tools and materials ensures your grout stays clean and withstands future spills. Kitchens, with their inevitable exposure to food stains and splashes, require specific attention.
Grout, unlike the tile surfaces it holds together, absorbs dirt easily. A quality grout brush — small but sturdy — allows you to access these tight spaces better than an average sponge. Opt for an oxygenated bleach cleaner, as it’s gentle yet effective for breaking down grime without the harshness associated with standard bleach.
A simple vinegar and baking soda mix often works wonders. Sprinkle baking soda directly onto the grout lines before misting it with vinegar. You’ll notice a bubbling reaction. It’s pulling out grime from pores you didn’t even know were dirty. Once the bubbling subsides, scrub the lines with your grout brush and wipe away the residue with a damp cloth. This method has the added benefit of being found in most kitchens.
Consider Lucy from Manchester. Faced with aged, discoloured grout, she was advised by her local hardware shop assistant to seal the grout after cleaning. Using a dedicated grout sealer added a thin layer of protection against future spills. It also made future cleans easier since the grime couldn’t penetrate as deeply.
After you’ve cleaned, a light rinse helps to remove any cleaner residue that might dull the finish or attract more dirt over time. Once dry, applying a grout sealer further protects your hard work. Remember, grout that’s sealed is less porous, making its annual upkeep simpler and keeping your kitchen fresher between tenants. It’s a little effort upfront for a big payoff later.
How do you prepare the kitchen floor for cleaning?
Preparing your kitchen floor before cleaning is essential to achieve the best results. Begin by clearing the area of any furniture, rugs, or appliances that might obstruct your access. Following this, sweep or vacuum the floor to remove loose dirt and debris. Finally, identify and treat any specific spots with stains or residues, ensuring they are adequately pre-soaked if needed. Thoughtful preparation ensures a more effective and even clean.
Getting everything out the way first makes life easier. You can’t clean properly if cabinets, stools, or mats are in the road. Remove anything that could potentially block your access. Move it all to the side, or if your kitchen’s petite, pop them in another room temporarily. Not only does this create more space to work, but it also helps prevent items getting in contact with cleaning products.
Once the area is clear, the fun begins with the vacuum cleaner or broom. Crumbs have a nasty habit of finding narrow nooks, especially under units. Sweep or hoover thoroughly to gather up loose debris. Pay particular attention to corners and under the lip of cupboards. This first step of removing dryness will prevent mud-like messes when mopping the floors. Trust me, you’ll thank yourself later.
Then it’s onto assessing any trouble spots. Those mysterious patches where spills have dried up require extra attention. Consider a spot treatment, like spraying a mix of water and vinegar onto sticky spots. Allow the solution to sit for a few minutes to break down grime before scrubbing. Though it might seem like more work at the start, dealing with patches quickly will make the overall clean faster and simpler.
According to Which?, pre-cleaning preparations ensure a more even and effective clean, reducing the need for re-cleaning significantly. For example, if your floor has a history of attracting spills, pre-treat those areas with a mild detergent to work on the residue while you tackle other sections of the kitchen.
“Even the best floor cleaner struggles with rough and gritty surfaces — though invisible, loose debris can severely impact cleaning quality if not cleared.”
What’s the best way to clean grout effectively?
Effective grout cleaning involves using the right tools and materials. Start with a suction vacuum for the joints, then apply a cleaner specifically designed for grout. Scrub with a firm brush and rinse thoroughly. Choose a mild acid-based cleaner for thorough cleaning but ensure proper ventilation and safety measures. Such steps help achieve refreshed, bright grout lines and extend their lifespan.
If you’re dealing with grout, brace yourself for a bit more elbow grease. Whether it’s between your porcelain tiles or laid into stone floors, those grooves collect dirt like nobody’s business. An initial vacuum or brush will help remove loose particles that tend to accumulate in these crevices. Trust me, it makes a noticeable difference.
The next step is a specialised grout cleaner. Not just any floor cleaner will do the trick here. These products contain certain ingredients that are particularly effective for breaking down stains and bacterial buildups in grout. Use the cleaner liberally along the lines, allowing it to sit a moment before scrubbing in circular motions with a stiff brush. It may seem laborious, but don’t cut corners — consistency across the entire floor heightens the finished look and sanitation quality.
Once you’ve scrubbed enough, rinse off the product promptly. Leaving a cleaner to settle might cause more harm than good. Safe alternatives to commercial cleaners include mixing hydrogen peroxide with bicarbonate of soda for a DIY remedy that’s kinder to the environment. Use it especially if the commercial options are harsher than you’d prefer. Some effort is required here, no doubt, but the tight spaces mean dirt finds fewer places to persist.
Steps to successful grout cleaning by Which? suggest keeping grout protected after a deep clean to maintain its fresh appearance. Consider applying a grout sealant that protects from future wear and tear. It’s an up-front investment of time but beats having to repeat the scrubbing process later.
In practice, waiting too long between cleans can lead to grout becoming irreparably stained. Regular maintenance helps keep it looking fresh and lines crisp.
What common mistakes should you avoid when cleaning kitchen floors and grout?
Avoiding common cleaning mistakes can save you time, money, and effort. Don’t use harsh chemicals blindly, as they may damage tiles and grout. Steer clear of soaking the floor with excessive water, leading to stubborn stains. Always test new products on a discreet section first and use protective gear to safeguard against fumes. Following these guidelines ensures a safe and successful cleaning routine.
One prevalent mistake when cleaning kitchen floors is flooding them with water. Tiles may look waterproof, but grout isn’t. Water seeps in and makes those lines develop stains faster. A damp mop is as wet as you want it. Make sure to wring it out thoroughly to avoid saturation. Remember, more water means more drying time, which could lead to slips or other mishaps. Less is more, genuinely.
Another pitfall is the allure of aggressive, one-size-fits-all detergents. Strong chemicals can etch tiles and discolour grout. Specific cleaners are designed with the longevity of your flooring in mind. They effectively combat grease and grime without risking surface wear. If unsure, choose a pH-neutral cleaner, which is generally safe for various surfaces. After all, prevention beats the cure when it comes to floor preservation.
Inattention to protective measures is another overlooked aspect. Housework is handy, yet chemicals bear risks. Using gloves, goggles, and ventilation layouts can avert skin irritation and respiratory distress. So when considering extensive cleaning, don’t forget to prioritise your well-being first. Practical advice for handling chemicals is available from guides like those by HSE.
According to a study by Gov.uk, improper use of cleaning products has led to an increase in home injuries over recent years. Take this as a reminder to read instructions carefully. For example, when using vinegar or bleach — never mix them. The result is hazardous for both you and your family, and rarely improves your cleaning results.
A real-world mistake includes using steel wool for grout, which can scratch and damage tiles. Opt for a soft brush instead.
Frequently Asked Questions
How do I clean grout on a tile floor?
To clean grout effectively, apply a paste of baking soda and water, then scrub with a toothbrush. Follow this with a vinegar spray to lift dirt. Rinse thoroughly with water. Consider sealing the grout to prevent future staining, which can be done using products recommended by the Which? floor cleaning guide.
What’s the best homemade cleaner for kitchen floors?
A mixture of one part vinegar to two parts water makes an effective homemade cleaning solution for most tile and linoleum floors. Add a few drops of essential oil for fragrance. Always test in a small area first to ensure it doesn’t damage your flooring.
Can steam cleaners damage grout lines?
In general, steam cleaners are safe for grout lines when used correctly. Avoid excessive pressure or leaving the steam in one spot too long, as this can loosen weak grout. Check manufacturer guidelines or consult resources like the NHS cleaning recommendations for safety tips.
Is professional cleaning worth it before moving out?
Hiring a professional cleaning service can be worthwhile if your tenancy agreement requires it or if your kitchen floor is heavily soiled. They have the expertise and equipment for thorough cleaning, potentially saving you deposit deductions. Services typically cost between £100-£200.
Should I seal my grout after cleaning?
Sealing grout after cleaning is a smart move. Sealing protects against moisture and stains, extending the lifespan of your grout. You can often find suitable grout sealers in DIY stores. Researching reviews on DIY.com can guide you in selecting the right product.
The author has extensive experience in home maintenance and cleaning solutions, ensuring that each tip is both practical and effective for those moving out.
Final Thoughts
Kitchen floor and grout cleaning before moving out is vital to ensure you leave the property in pristine condition. Focus on removing stains, using gentle methods to protect the surface, and sealing grout for long-term protection. These steps not only meet landlord expectations but also enhance your peace of mind.
Start by inspecting your kitchen flooring for stains and damage. Then, decide whether a professional cleaning service is necessary or if a DIY approach will suffice. Regular upkeep of kitchen floors can prevent these issues from recurring, saving time and effort in the future.
Moving out can be a stressful experience, but ensuring your kitchen floor and grout are spotless can ease the transition and help secure your deposit.
📚 You May Also Like
References
- [1] Which? — https://www.which.co.uk/reviews/mops-and-floorcleaners/article/how-to-clean-mop-floors
- [2] Steps to successful grout cleaning — https://homeservices.which.co.uk/ideas-advice/home-improvements/replacing-repairing-grout
- [3] Which? floor cleaning guide — https://www.which.co.uk/reviews/floor-cleaning-products