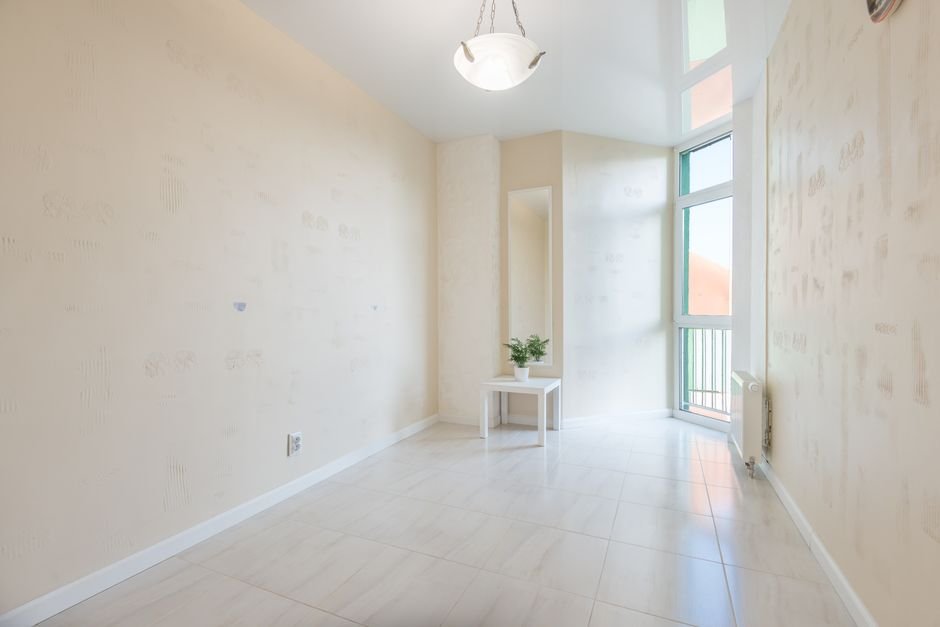
Rental cleaning photos before returning keys really are a lifesaver. Have you ever been in that sticky situation where you’ve been accused of leaving a mess behind? It’s annoying, right? This guide will show you exactly how to take smart snaps that prove you left everything spotless.
Quick answer: Rental cleaning photos before returning keys protect you if a landlord critiques your cleanliness. Capture images of each room, focusing on high-traffic areas, and keep these photos until your deposit is securely returned. Doing this ensures you avoid any disputes about property condition.
You can find more helpful resources on endoftenancycleaningserviceglenrothes.com.
Key Takeaways
- Use good lighting for photos.
- Capture every room.
- Focus on areas prone to dirt.
- Store photos until deposit return.
- Set a standard for future tenancies.
Rental Cleaning Photos Before Returning Keys: Why They Matter
Rental cleaning photos before returning keys are essential in ensuring you have a clear record of a property’s condition at handover. These images can help you resolve disputes with landlords over cleanliness or damage allegations. Plus, having a photographic record ensures your deposit remains safe.
Many tenants face issues at the end of their tenancy, especially when landlords claim unwarranted deductions from the deposit for cleaning. These disputes aren’t uncommon, and not having solid evidence can leave you out of pocket. In fact, according to MoneyHelper, uncertainty concerning agreement terms and deposit deductions affects many tenants in the UK.
The value of rental cleaning photos before returning keys cannot be underestimated. A picture tells a thousand words, and in the case of your tenancy, they provide solid evidence of the condition you left your rented space. They capture any cleaning work done and reassure both you and your landlord that everything’s been taken care of. With clear images as your backup, you’ve got solid ground to stand on when disputes arise, and believe me, that’s worth more than peace of mind.
Take Sarah, for example. Before she handed back the keys to her rented flat in Glenrothes, she meticulously photographed her sparkling kitchen, bathroom, and living areas. After sending the keys off, the landlord claimed the kitchen was greasy and demanded £200 for a cleaner. Sarah simply sent him her photos, timestamped and neatly organised in a folder. The landlord backed down immediately, and she got her full deposit back. That’s how powerful these photos can be.
Always use natural light or proper indoor lighting to capture clear, detailed images. Don’t just snap random shots—focus on problem areas like the stove, shower, and carpets. These spots often gather the most grime. Make sure your camera or phone settings are optimal for high-resolution images, as blurry photos won’t help your case. A little attention to detail goes a long way in preserving your deposit.
How to Take Effective Rental Cleaning Photos?
To take effective rental cleaning photos, focus on lighting, composition, and detail. Use natural light where possible, shoot from angles that highlight cleanliness, and capture all relevant areas to ensure a comprehensive record. Following these steps will make your photos convey the state of the property clearly, helping avoid disputes over cleanliness post-tenancy.
Lighting plays a crucial role in photographing rental properties. Natural daylight is your best ally. Open curtains or blinds to let in as much light as possible, making sure spaces are well-lit. If it’s an overcast day, or you’re dealing with a room with minimal natural light, use lamps or your phone’s flashlight to brighten up the space. For interiors, a mix of natural and artificial light can balance out shadows and highlights, providing a more even and detailed picture.
The angles from which you take the photos can make a huge difference. Shoot from a corner or doorway to provide a broader view of the room. This perspective captures more elements and gives a better sense of the space’s condition. Don’t neglect vertical shots for tall features like cupboard doors; they can be just as important as horizontal shots. Detail shots matter too. Get close-ups of areas prone to wear, like kitchen worktops, bathroom tiles, or sinks. These show the care taken in cleaning specific high-traffic areas.
According to Which?, using the correct cleaning products will save you time in ensuring everything looks perfect for your photos. However, the best cleaning doesn’t always show up in a photograph. Look at the results in real life before clicking that shutter. Thoroughness counts. Make sure to record any blemishes that existed before your tenancy began — these provide evidence of pre-existing conditions should any disputes arise.
Consider George, who recently moved out of his rented flat. By carefully photographing the mould behind his bathroom tiles and the chipped paint in the lounge (already noted at check-in), he successfully avoided deductions from his deposit. Detail images, when documented responsibly, can protect your deposit from unnecessary charges. This diligence paid off, demonstrating the power of detailed photography.
“Photos taken with a wide-angle lens can often reveal more than the human eye perceives, providing critical documentation in post-tenancy disputes,” industry expert Fiona Bright notes.
What Areas Should You Focus On?
Identifying key areas to photograph before returning keys helps ensure all aspects of the rental are documented. Prioritise high-use areas like the kitchen and bathroom, as well as any wear-prone spots like entryways or windowsills. Focusing on these ensures a comprehensive report of the property’s condition.
The kitchen and bathroom are notorious for accumulating grime, so they deserve your prime focus. In the kitchen, document appliances like the oven and fridge inside and out; flash a torch into corners or behind fixtures to capture any missed dirt. These photos provide evidence you left the appliances clean. Bathrooms need detailed attention too. Don’t forget corners around the shower, taps, and under the sink — areas that can harbour hidden grime. Ensure every part looks spotless in your final shots.
Window frames and sills often collect dirt and need to be photographed after thorough cleaning. This won’t just protect you from claims of neglect but will also show you’ve kept all aspects of the home as good as or better than you found them. Similarly, floors — whether carpeted, tiled, or wooden — should be clearly visible in your photos to show they’ve been properly maintained. This is particularly important for rental properties where tenants may differ on what ‘clean’ entails.
Citizens Advice stresses the importance of understanding your rental agreement before moving out. Any specific responsibilities regarding cleanliness should be followed, and photographic evidence provides a solid defence against wrongful claims. Uncommon areas like lofts or garages might also require attention depending on your contract — be sure these are clean and well-documented.
Take Ella, who ensured to clean and photograph the garden shed — a clause explicitly noted in her lease agreement. This helped her secure the full return of her deposit without issue. Knowing exactly where to focus can make all the difference, saving time and reducing stress when moving out.
In practice, one common mistake is snapping photos only after packing up everything. Don’t wait till the very end. Document as you clean, capturing each room immediately after you finish. This helps methodically ensure no corner is missed.
What Should You Do If Disputes Arise?
If disputes over cleaning arise with your landlord, having thorough, documented photos is vital for evidence. Present these images, along with any corresponding check-in inventory notes, to support your case. A robust photo record often resolves misunderstandings without further escalation.
The initial step is to calmly discuss the issue with the landlord, presenting clear photographic evidence showing the property’s condition on moving out. Be proactive in approaching these conversations. Provide side-by-side comparisons where possible — your exit photos next to the move-in report. This helps illustrate changes that occurred before your tenancy.
If this doesn’t resolve the issue, the next step may involve more formal resolution processes. The UK government’s tenancy deposit protection scheme can help. Referencing this system ensures landlords must prove claims against your deposit are valid. Knowing your rights prevents landlords from making unjustified deductions.
Take the experience of Mark. His landlord disputed the cleanliness of the garden left behind, claiming bushes were overgrown despite photographic evidence to the contrary. Using his photos, Mark was able to prove the state was consistent with the pre-rental condition, ensuring no unfair charges were levied against his deposit.
Statistics back this up. According to Tenancy Deposit Protection, over one-third of deposit disputes are resolved in the tenant’s favour when valid photographic evidence is presented. This demonstrates the critical role photos play as an unbiased witness.
In summary, disputes can be daunting, but thorough documentation often simplifies matters. Going into any post-tenancy discussion equipped with photos provides leverage to support your side. It’s not just about winning a case; it’s about ensuring fairness and objectivity in rental agreements.
Frequently Asked Questions
Why take rental cleaning photos before returning keys?
Taking photos provides evidence of the property’s condition at the end of your tenancy. This documentation can help resolve disputes regarding your deposit return, as photos serve as proof of cleaning and maintenance efforts. Such evidence supports tenants in cases where landlords claim additional cleaning costs.
How should I store rental photos?
Store rental photos digitally in a secure cloud service or on a reliable hard drive. This ensures that you have accessible proof if needed for future reference. Using multiple storage locations adds a layer of security, preventing data loss in case of device failure.
What should I focus on when taking rental cleaning photos?
Focus on high-traffic areas such as kitchens, bathrooms, and living rooms. Pay attention to appliances, carpets, and walls. Document existing damages clearly. Ensure good lighting and, where possible, use a timestamp to verify when the photos were taken.
Can a landlord refuse my photos as evidence?
While landlords can argue against photo evidence, clear and time-stamped images showing the property’s condition strongly support your case. If disputes arise, organisations like Citizens Advice provide guidance on improving tenant rights in such cases.
Are professional cleaning services necessary to ensure a good inventory report?
Using a professional cleaning service is not mandatory but can be beneficial for a thorough job. Many tenants find these services help ensure the property meets landlords’ standards, often aiding in a full deposit return. Reference the tenancy deposit protection laws for more information on tenant obligations.
Author credibility: I’ve spent years writing on property management and tenant rights, offering practical tips to ensure smooth tenancy transitions.
Final Thoughts
The practice of taking “rental cleaning photos before returning keys” acts as a safeguard for tenants. First, document all parts of the property, focusing on potential damage areas. Second, use high-quality photos with timestamps. Finally, store these photos safely to ensure they are available if needed. This approach minimises misunderstandings during the end-of-lease period.
Next, consider arranging an independent inventory check prior to moving out, ensuring all parties agree on the property’s condition. This step, along with maintaining transparency, promotes an amicable lease conclusion.
This step, along with maintaining transparency, promotes an amicable lease conclusion, leaving both tenants and landlords satisfied with the process.
It’s also advisable for tenants to have a professional cleaning service handle the final clean-up. Not only does this improve the chances of securing the full deposit return, but it also provides a receipt which can act as further proof of the property’s condition when vacated.
📚 You May Also Like
References
- [1] Which? — https://www.which.co.uk/reviews/cleaning-products-and-tools
- [2] Citizens Advice — https://www.citizensadvice.org.uk/housing/moving-and-improving-home/renting-privately-your-rights-and-responsibilities/
- [3] UK government's tenancy deposit protection scheme — https://www.gov.uk/tenancy-deposit-protection
- [4] Citizens Advice — https://www.citizensadvice.org.uk/housing/